
Switching Carriers Without Losing Your Number: A Practical Walkthrough
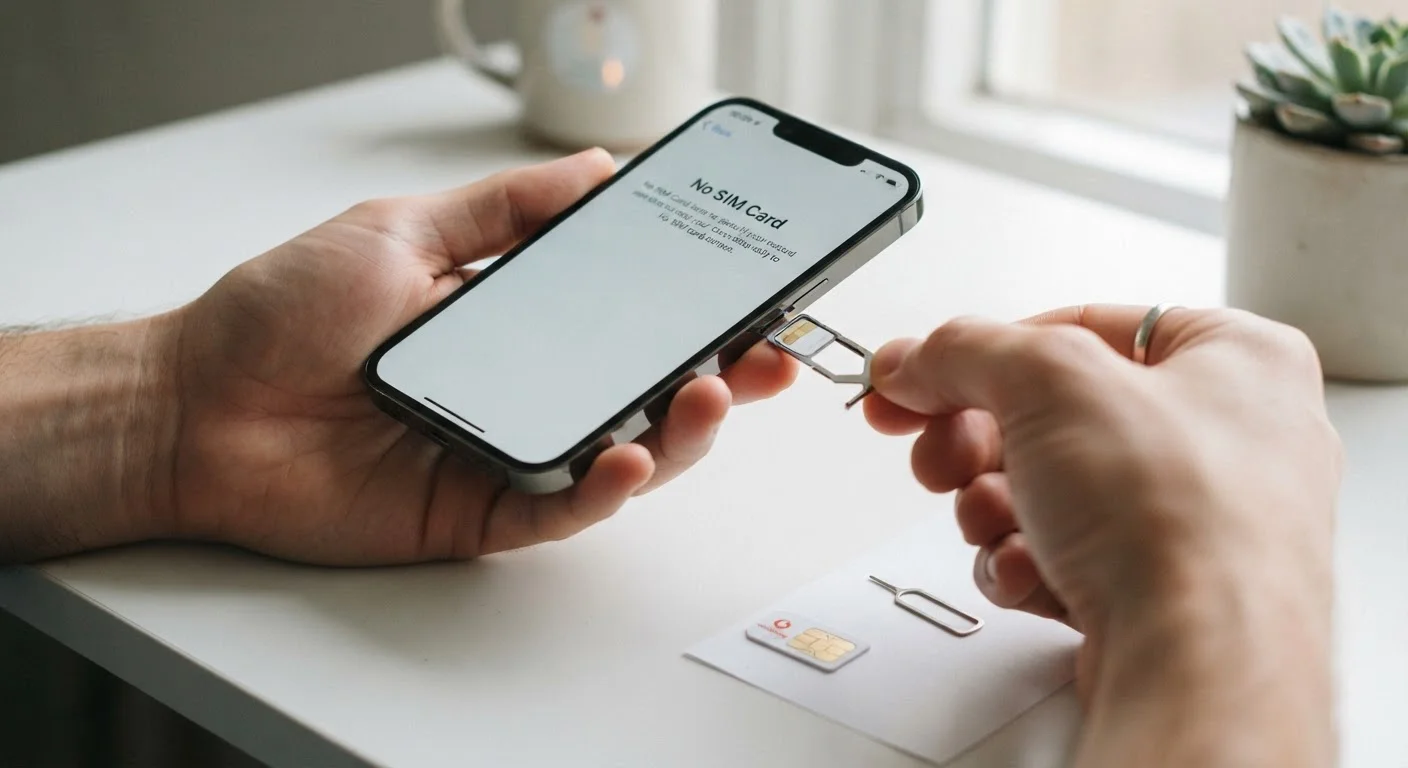
Photo credit: Telecom360.net | Connecting You To The Latest In Telecom
In this article
Number portability is a legal right in the US. Here's exactly how to transfer your number to a new carrier without service interruptions.
Key Takeaways
- Number portability is federally protected in the US; your carrier cannot legally block a transfer.
- You must keep your current account active until the port is fully complete - canceling early breaks the transfer.
- Gathering your account number and PIN before starting prevents the most common porting delays.
- The transfer typically completes within a few hours for most carriers, though some MVNOs can take up to 24 hours.
- Moving from postpaid to prepaid adds extra steps that are worth verifying in advance.
What Number Portability Actually Means
The LNP rules established by the FCC give every US wireless customer the legal right to take their phone number with them when switching carriers. This applies across all major carriers - Verizon, AT&T, T-Mobile - and to MVNOs like Mint Mobile, Visible, and Consumer Cellular, which lease network capacity from those major carriers. Your current carrier is legally prohibited from blocking or delaying a valid port request.
The actual mechanics rely on an industry database that maps each phone number to its current carrier. When you initiate a port, the new carrier submits a request to update that database entry. The old carrier has a limited window - generally no more than one business day - to validate or contest the request before the transfer is finalized.
Do Not Cancel Your Old Account Early
The most common mistake people make when porting is contacting their old carrier to cancel service before the number transfer completes. Canceling your account before the port finalizes will release your number and make it unrecoverable. Your old service will be automatically terminated once the receiving carrier successfully claims the number - you don't need to do anything extra.
What You Need Before You Start
Porting failures almost always trace back to missing or incorrect account information. Collect the following before you begin:
What you will need
If you're uncertain whether your device will work on the new carrier's network, check the carrier's IMEI compatibility tool using the number retrieved from *#06#. Incompatible devices - particularly phones locked to CDMA networks or missing key LTE bands - will connect poorly or not at all even after a successful port.
Account number and transfer PIN
Required by the receiving carrier to authenticate and claim your number from the existing carrier.
Unlocked compatible device
Ensures your phone can connect to the new carrier's network frequencies after the port completes.
New SIM card or eSIM profile
The physical or digital SIM issued by the receiving carrier that activates service on their network.
Wi-Fi connection
Useful for completing online activation steps if cellular signal is temporarily unavailable during the switch.
Step-by-Step: How to Port Your Number
Follow these steps in order. Skipping or reordering them - particularly steps one and three - is where most problems originate.
Audit your current account before anything else
Before contacting any new carrier, review your existing account for potential blockers. Check whether you're under a contract with an early termination fee, whether your device is fully paid off, and whether your number is currently subject to a port freeze or account lock. Our pre-switch carrier audit checklist covers every item worth verifying at this stage.
Choose and set up your new plan
Select the plan and carrier you want to move to. If you're switching from a postpaid plan to a prepaid or MVNO plan, be aware that the process involves additional considerations around billing cycles and account verification. The postpaid-to-prepaid porting checklist walks through those differences in detail. Purchase your new SIM card or set up an eSIM profile before initiating the port.
Initiate the port with the new carrier
Provide your new carrier with your current account number, transfer PIN, and the billing ZIP code from your old account. This information is submitted through the new carrier's online activation flow, app, or in-store representative. The new carrier submits an automated port request to your old carrier on your behalf - you don't need to call your old carrier to authorize it.
Wait for the transfer to complete
Most ports between major carriers (Verizon, AT&T, T-Mobile) complete within two to four hours. MVNO transfers may take up to 24 hours in some cases. During this window, keep your old SIM inserted and the old account active. You'll typically receive a confirmation text from your new carrier when the number has transferred successfully.
Insert your new SIM and verify service
Once you receive confirmation that the port is complete, swap in your new SIM card (or activate the eSIM profile) and restart your device. Verify that calls, texts, and mobile data all function correctly. Test by calling your own number from another phone and sending a test message.
Confirm your old account is closed
After a successful port, your old carrier should automatically terminate the line associated with the transferred number. Verify this by checking for a final bill or account closure confirmation. If you had other lines or services on the same account that you're keeping, confirm those were not affected by the port.
Beware of SIM Swap Fraud During Transfers
Number porting and SIM swap fraud exploit the same underlying process. If you receive unexpected confirmation messages about a port you did not initiate, contact your current carrier immediately and place a port freeze on your account. See our guide to protecting your number from SIM swap fraud for proactive steps to reduce your exposure.
Troubleshooting Common Porting Problems
If your port stalls or fails, the cause is usually one of the following:
- Incorrect PIN or account number: The most frequent reason for a port rejection. Contact your old carrier to confirm the exact values on file.
- Account freeze or port lock: Some carriers allow customers to place a voluntary port lock on their account as a fraud prevention measure. You'll need to remove it before proceeding.
- Unpaid balance: While carriers legally cannot block a port solely because of an outstanding balance, an account in collections may be suspended, which can complicate the process.
- Device not unlocked: A port can succeed but your phone won't connect to the new network if it remains locked to the old carrier. Contact your previous carrier to request an unlock after the port completes.
Test Coverage Before You Commit
Coverage maps from Verizon, AT&T, T-Mobile, and MVNOs are useful starting points, but they don't reflect real-world signal conditions in your specific locations. Before initiating a port, follow the practical methods in our guide to testing real-world network coverage to validate signal quality where you actually use your phone.

Author
Phone Plans Editorial Team
Phone Plans Editorial Team is the collective byline for our editorial team and contributor network. Articles published under this byline or an editorial pen name are researched, written, and reviewed according to our editorial standards for clarity, consistency, and independence before publication.
View all articles →