
How to Test Real-World Network Coverage Before Switching Carriers
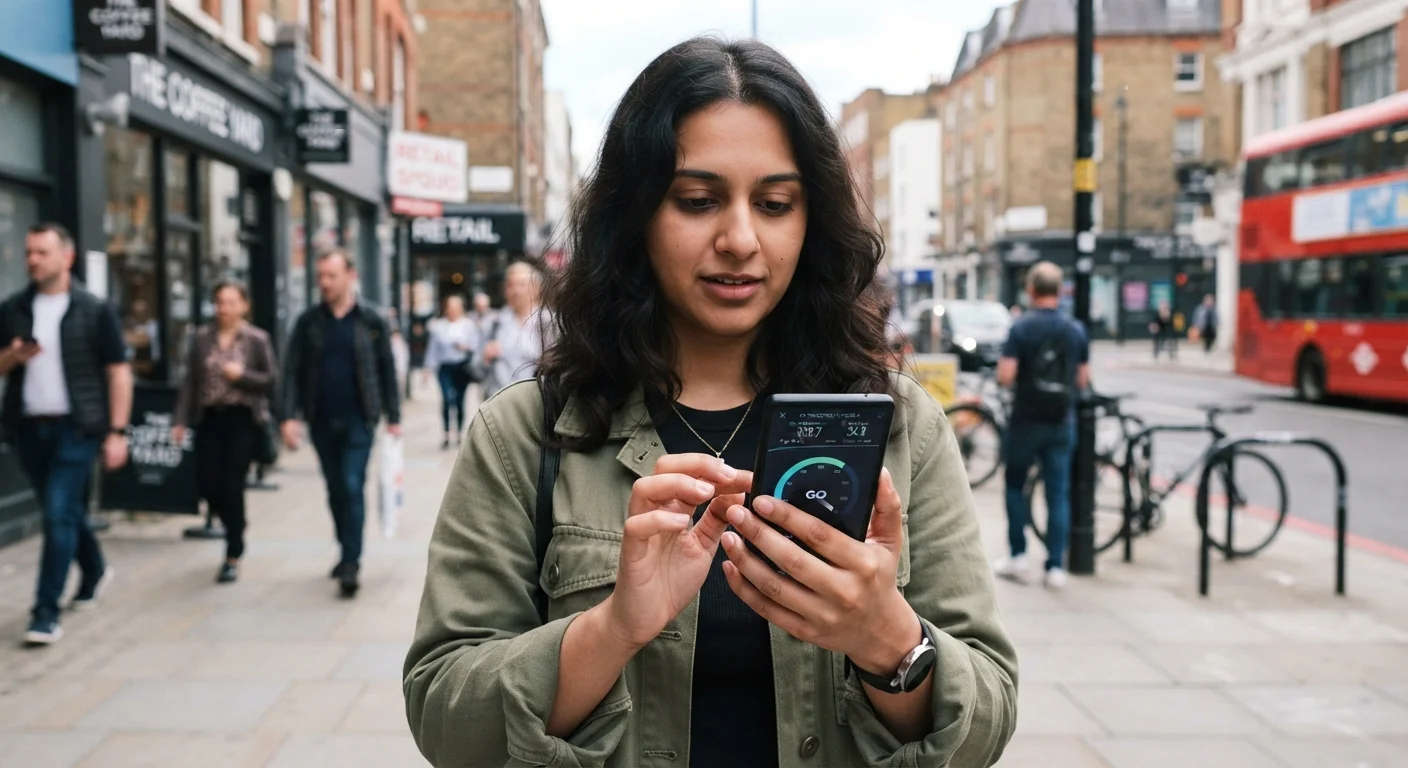
Photo credit: Telecom360.net | Connecting You To The Latest In Telecom
In this article
Don't rely on maps alone. Follow these practical steps to test actual signal quality, data speeds, and call reliability in the places you use your phone most.
Key Takeaways
- Carrier coverage maps are planning tools, not guarantees - real-world testing is essential before switching.
- Test signal quality in every location you use your phone regularly, not just at home.
- Speed test apps and call quality checks together give a complete picture of network performance.
- Many carriers offer trial periods or temporary SIMs that let you test before fully committing.
- Indoor signal penetration can differ significantly from outdoor readings at the same address.
Why Coverage Maps Alone Aren't Enough
Carrier coverage maps are built from signal propagation models, drive-test data, and third-party inputs. They are useful for a broad overview but are not engineered to reflect performance inside a specific building, on a particular floor, or during network congestion at peak hours. Relying on a map without field-testing is one of the most common reasons people feel disappointed after switching carriers.
Factors that maps routinely fail to capture include: terrain and building obstruction, indoor signal penetration loss, local network congestion, and the distinction between different 5G sub-bands. For a detailed breakdown of what maps can and cannot tell you, see our coverage claims verification checklist.
Network Type Matters, Not Just Coverage Color
A carrier map may show your area as 'covered,' but that coverage could be 5G, LTE, or an extended/partner network with significantly different performance characteristics. Always identify which network technology the map is displaying for your specific locations, and test accordingly. Marketed 5G coverage, in particular, includes several sub-bands (low-band, mid-band, mmWave) with very different real-world speeds and range.
The only reliable way to know whether a carrier works for your life is to test it in the places you actually spend time - before you commit.
What You'll Need to Get Started
Effective coverage testing doesn't require specialized equipment, but it does require a few baseline tools and a clear plan. The more systematically you test, the more useful your results will be.
What you will need
Speed Test App (e.g., Ookla Speedtest or Fast.com)
Measures download speed, upload speed, and latency on the carrier's network in real time.
Carrier Trial SIM or eSIM
Allows you to test a new carrier's network on your device without canceling your existing plan.
Phone Field Test Mode
Displays raw signal strength in dBm, giving a more precise reading than the standard bar indicator.
Network Coverage Map (carrier-provided)
Used as a baseline reference to compare against your real-world test results.
If you're evaluating plans for a team or business context, the same methodology applies - but you'll want to test at every office location and common travel corridor your team uses. The business phone plans hub covers enterprise-specific considerations for carrier selection.
Use Dual SIM to Test Without Risk
If your phone supports dual SIM (physical + eSIM or two physical slots), you can run a trial carrier alongside your existing plan simultaneously. This eliminates any service gap during your evaluation period and lets you compare networks side by side in the same location under identical conditions.
Running the Tests: Step-by-Step
Map your daily locations before testing
Write down every location where you rely on your phone: your home address, workplace, commute route, frequently visited buildings, and any rural or suburban areas you travel to regularly. These form your personal testing grid. Coverage that works downtown but fails on your commute tunnel or in your basement office is coverage that doesn't serve your actual needs.
Cross-reference carrier maps with your location list
Pull up the coverage maps for any carrier you're considering and check each location on your list. Note whether each spot falls in a claimed 5G, LTE, or extended coverage zone. Save screenshots or export the map view for later comparison against your actual test data. Carrier maps use signal propagation models and third-party data - they reflect predicted, not guaranteed, coverage.
Obtain a trial SIM or eSIM for the target carrier
Many major carriers and MVNOs (Mobile Virtual Network Operators) offer short-term trial periods, prepaid SIMs, or eSIM trials that let you test their network without porting your number or canceling your current service. Install the trial on a secondary device if available, or use your phone's dual-SIM slot. Check the carrier's trial terms carefully - some require a minimum purchase, while others offer a free window.
Run speed tests at each location on your list
At each location, open your speed test app and run at least two consecutive tests - one during a low-traffic period and one during peak hours (typically 7-9 PM). Record the download speed, upload speed, and ping (latency) for each test. Repeat this indoors and outdoors at the same address where practical. A location showing 150 Mbps outdoors but only 8 Mbps inside your office tells a very different story for productivity.
Test voice call quality and reliability
Place voice calls from each location on your list and evaluate clarity, dropout frequency, and call setup time. Test both standard cellular calls and VoLTE (Voice over LTE) if the carrier supports it - VoLTE typically delivers noticeably better voice quality than legacy 3G fallback. Note any calls that drop, fail to connect, or produce significant audio artifacts.
Check signal strength using field test mode
For a more precise signal reading than bar icons provide, access your phone's field test mode. On iPhone, dial *3001#12345#* and tap Call; on Android, navigate to Settings > About Phone > Network or use a third-party signal app. Look for the RSRP (Reference Signal Received Power) value in dBm. A value between -80 and -90 dBm is generally strong; below -110 dBm indicates a weak signal likely to affect performance.
Review results and compare against carrier claims
Compile your speed test logs, call quality notes, and signal strength readings alongside the carrier map screenshots you saved in Step 2. Identify any locations where actual performance fell meaningfully short of the map's claimed coverage tier. Use this evidence to decide whether the carrier's network genuinely serves your daily pattern - and to ask informed questions if you contact carrier support before committing.
Once you've completed testing, your data gives you a factual basis for comparison rather than a reliance on marketing materials. If you're also weighing the logistics of moving your number, our number portability walkthrough explains exactly how to transfer without a service gap. For a broader pre-switch checklist, the complete coverage guide covers verification from every angle.
Don't Port Your Number Before Testing
Porting your number initiates the switch and typically triggers cancellation of your old service. Complete your coverage testing using a trial SIM or a secondary number before initiating a port. Once a port is submitted, reversing it can be complex and time-consuming.

Author
Phone Plans Editorial Team
Phone Plans Editorial Team is the collective byline for our editorial team and contributor network. Articles published under this byline or an editorial pen name are researched, written, and reviewed according to our editorial standards for clarity, consistency, and independence before publication.
View all articles →